


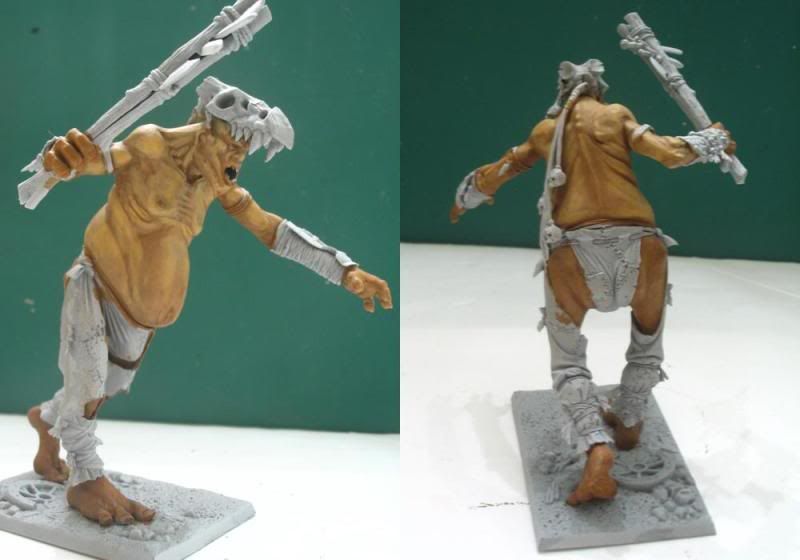
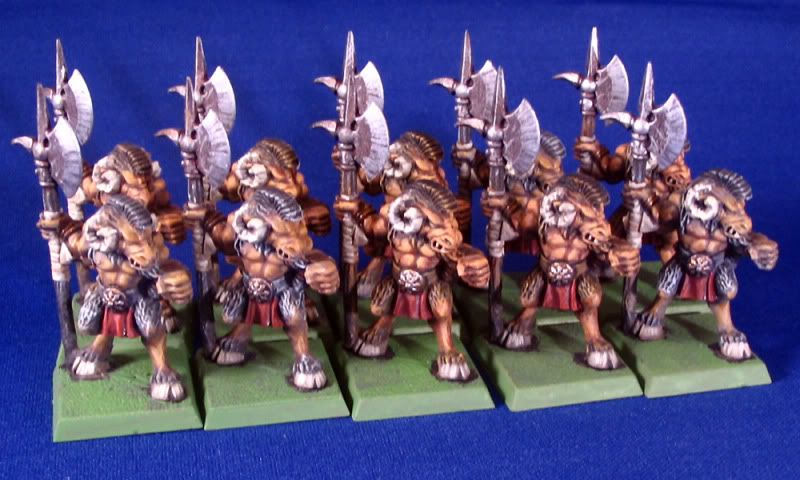
 The primal call of beast has taken hold lately and I've been growing a fledgling herd. I've had these kicking around for sometime. They are the same vintage as the Black Orcs posted earlier. The figures are actually pretty good for some of GW's earliest delving into plastic. Sure they are not multipose but the castings are pretty good with well defined detail and they paint up pretty well.
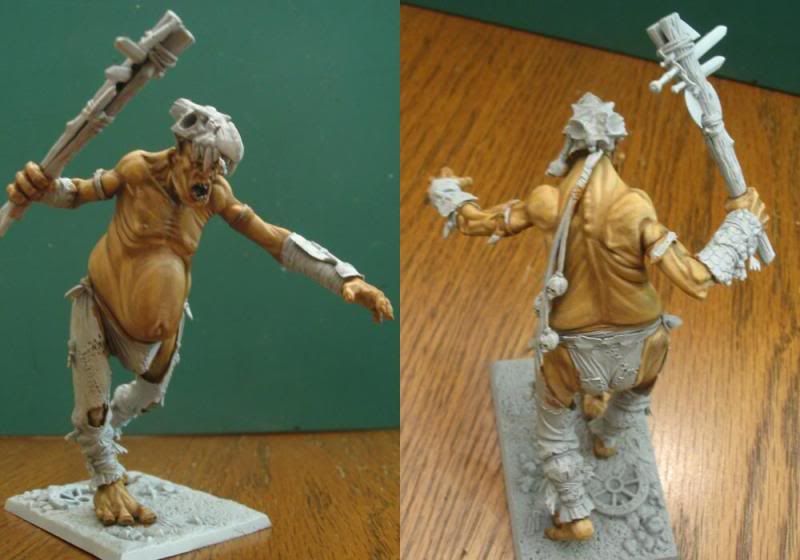
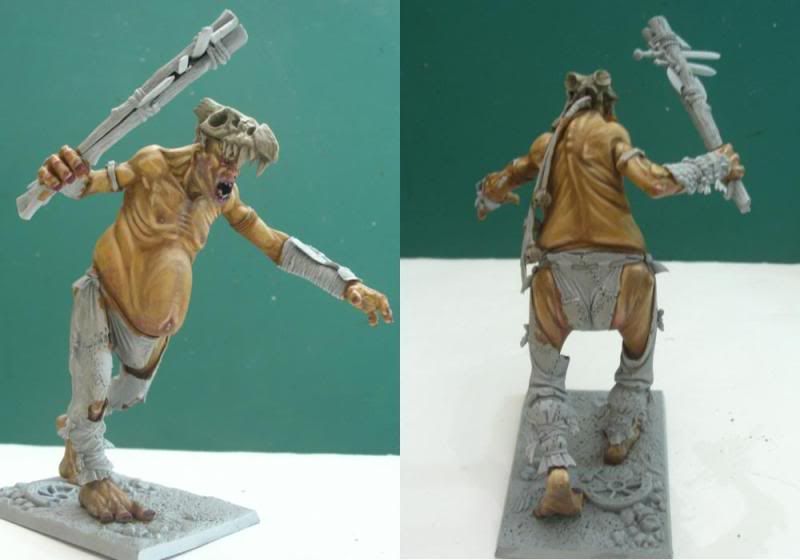
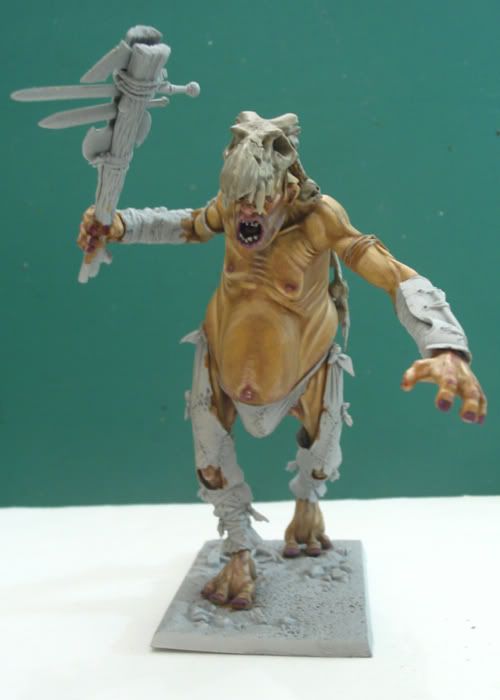
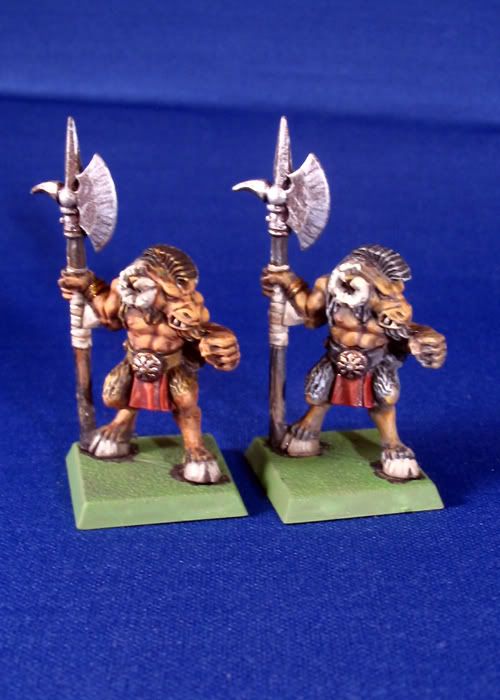 I tried two different tones using more brown with black fur on the right to try to get variation in thge unit. I need to texture the bases yet. I am thinking forest floor and just need to gather the materials. Another note about the bases. I originally painted them Khemri Brown as a change from the Goblin Green I usually use but it did not look right to me so I revert to my trusty GG. Below is a shot of the intended unit minus the standard bearer who is still in its package. Yes those are the cheesy beastmen from the Milton Bradly/GW game Battle Masters filling in the ranks. Not great but they'll do.
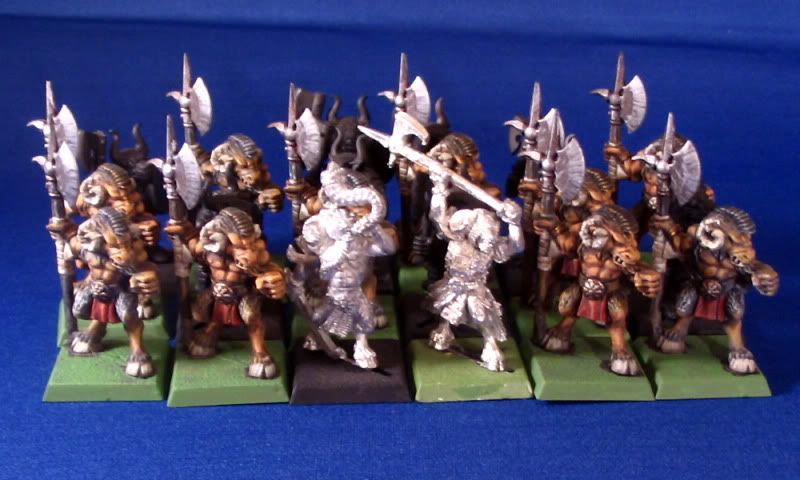 I also had a few old school Minotaurs in my way back machine and using eBay I've recently added a Doom Bull, Minotaur standard bearer and Karak One-Eye which will be coming soon to a blog post near you.

 As I continue to work on my chapel I have discovered the joys of pink foam insulation. This stuff, which you can find at any DIY hardware store, is an indispensable scenery material. You can make pretty well anything with it. In my last post I showed how I used it to make the chimney and supports. This past week I tackled the stone work around the base of the structure.
 My first thought was to cut out individual bricks and attach them. I used this method on the back wall but I was not satisfied with the results. Cutting out the "bricks" was also tedious and messy. The I hit upon the idea of making panels of styrofoam, attaching them the the walls and textured with an xacto knife. I cut a piece of styrofoam about 100mm x 30 mm then carefully sliced off a 3-5 mm section. I continued making panels until I had what I needed to go around the chapel. The panels were glued to the lower part of the wall, clamped and left to dry overnight.
 When the glue was set I took my xacto and carved the stones. An old paint brush was used to clean up any loose bits of foam that stuck into the crevasses. For the door I fashioned an arch with left over bits of foam. The door was scored and the wood effect will be brought out in the painting phase. Some tiny nails and craft sticks were added for details.
 One of the things that attracts me about WH40K and WHFB are those wonderful pictures of beautifully painted miniatures against backdrops of marvellous terrain features. So I thought I'd try something different and build some terrain of my own. My first attempt was a small house. I borrowed heavily from the techniques presented in this article by Gary James http://www.terragenesis.co.uk/infopages/page191.html. Instead of doubling the wall thickness, I only used a single thinkness of foamcore and drew the windows on. Likewise the stone chimney is painted with a "stone" cap made from pink foam insultation topped off with drinking straws. Since I was making a single story building and didn't need to remove the roof, the gabels and end walls were cut as one piece. The house diminsions are 110mm x 145mm x 145mm. The wall height is 45mm to the eaves.
 This encouraged me to tackle something a bit more elaborate. Taking inspiration from the GW chapel model I've started to build my own chapel. The dimensions of this project are 110mm x 160mm x 200mm with the same roof slope as the house. For the second story I added another layer of foamcare measuring 35mm high at the sides and 110mm at the gables.
 I've cut niches in each gable that I plan the decorate with either statues or stained glass. Pink foam insulation is also used on this project for the the stonework supports, the chimney and various other bits of stonework. As you can see on one wall here I am experimenting with a technique the create the look of stonework foundations. I'm not sure how I feel about the results so far. The chimney came out pretty well I think. I've topped it off with a bit of bendy straw and a push pin (I only had clear ones on hand).